 Now, you might think a sewing pins a sewing pin but I’ve learnt from experience (sometimes harsh) that this isn’t the case. As with everything there are different types, lengths, materials used and importantly, price. Better quality sewing pins will have sharper points which also stay sharp for longer. Trying to put a blunt pin through paper and fabric can be a frustrating experience!
Glass Headed Pins (nickle plated steel)- My preferred sewing pin for a number of reasons:
- You can iron round them without worrying they’re going to melt and stick to your iron (yes I’ve done this!).
- When you drop them (and you will) they are easy to see, getting a sewing pin in your foot is a painful experience (yes I’ve done this too!)
- They are easy to grasp especially if you go straight from pinning to sewing and are removing pins as you sew.
- They don’t rust.
You can buy these in different lengths, I prefer longer ones but like to keep a few short ones for tiny projects. This is the type I generally use, available through Amazon.
Plastic Headed Pins – Similar to the glass headed pins, cheaper than glass ones and a good alternative if you’re very careful with your iron.
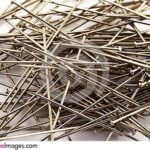
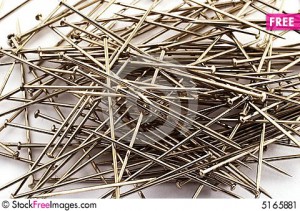
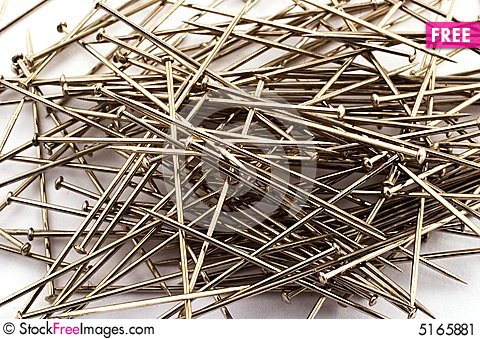
Standard Straight Pins – Traditional pins you would have seen your Gran or Mum using (depending on your age). Some people prefer to use these when going straight from pinning to sewing as you’re less likely to break a needle.

It comes down to personal preference. I drop my pins more often than breaking a needle hence my choice. All styles of pins can be bought in different lengths but for general sewing 34mm to 38mm is fine. You can also buy pins with fancy heads, they look fab but can be expensive if you’re on a budget. I found an article on how to make your own here if you fancy giving it a try.
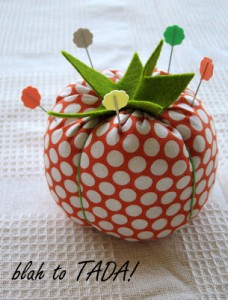
One final tip, use a pin cushion, mine is probably the most used item in my sewing kit. You can easily make one by following this fab tutorial here .


