In our busy lives it’s always 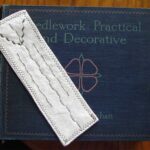 nice to find time to sit and read a good book. It’s also nice to have some lovely handmade bookmarks to hand, I hate to see a book getting the corner of it’s page turned over!
These are really simple to make in about 30 mns, depending on whether you hand or machine stitch.
If you’ve read my other posts you might recognise the fabric and trim in this bookmark, remember my tip about not throwing small pieces of fabric away?
So, gather your materials 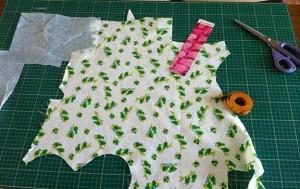 together,
- Fabric, most fabrics can be made into bookmarks.
- Iron on interfacing (if you’re using a very stiff fabric you won’t need this)
- Trim
Cut a piece of fabric 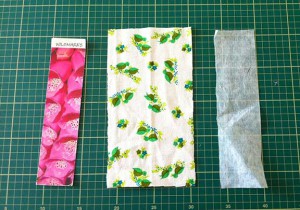 12cm x 23cm (I used an existing bookmark to measure). Cut a piece of interfacing 6cm x 23cm.
Iron the interfacing onto one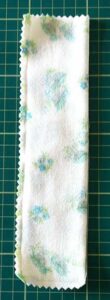
 half on the wrong side of fabric.
Keep right sides together sitch the long side and one short side together. Trim the seams.
Turn right sides out and press 
 turning the open end in.
This is another place where you can use my favourite Top stitch technique. Top stitch round all four sides making sure you catch the open end.
All that’s left now is to add your trim/decoration. There are lots of things you can use:
- Fabric paint, paint your own designs
- Buttons
- Lace
- Ribbon
- The decorative stitches on sewing machine if you have one
I used gift wrap ribbon for mine, 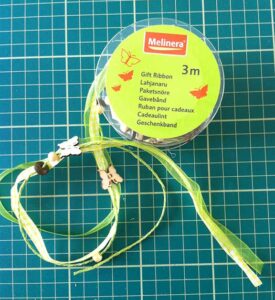 it was on special at Lidls (discount store), it was in the bargain bin for 49p. I’ve already used it in a few projects!
One completed bookmark. I would normally make a batch of these they’re so quick and easy but did a single for this tutorial. They make great wee gifts and stocking fillers!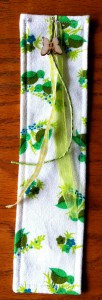


I love reading and collecting bookmarks, but never thought of making one.
I have some fabrics and materials, will try it.
Thanks for the tutorial!
Thanks Sylvia,they are so easy to make and you can really use your creative flair, would love to see yours once you’ve made it. 🙂